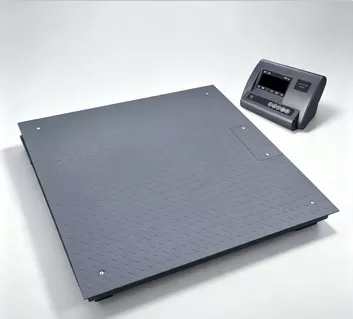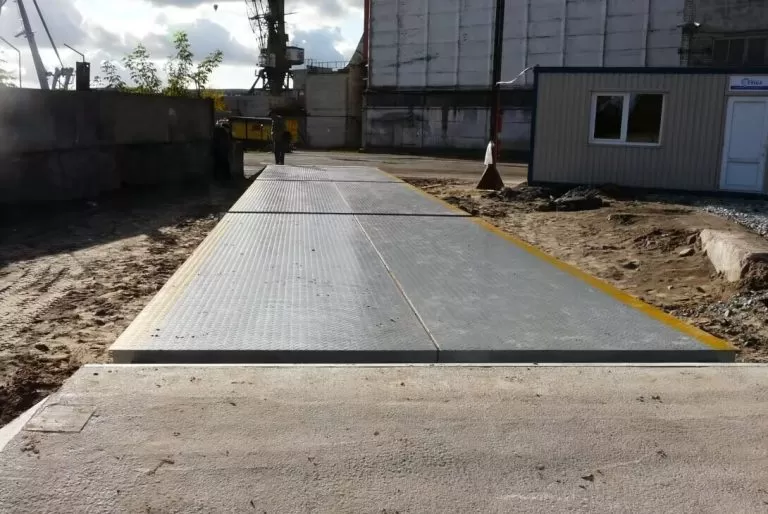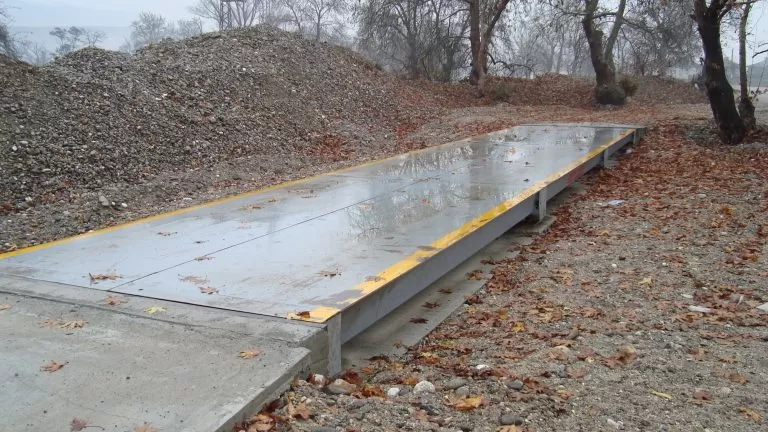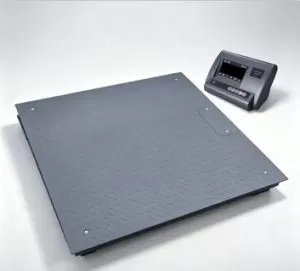

How Do I Calibrate a Platform Weighing Scale? Step-by-Step Calibration GuideCertified calibration test weights (close to the scale’s full capacity)
Clean, flat, stable floor surface
Level bubble / spirit level
Soft brush and cloth to clean scale platform
Scale user manual
Notebook for recording calibration data
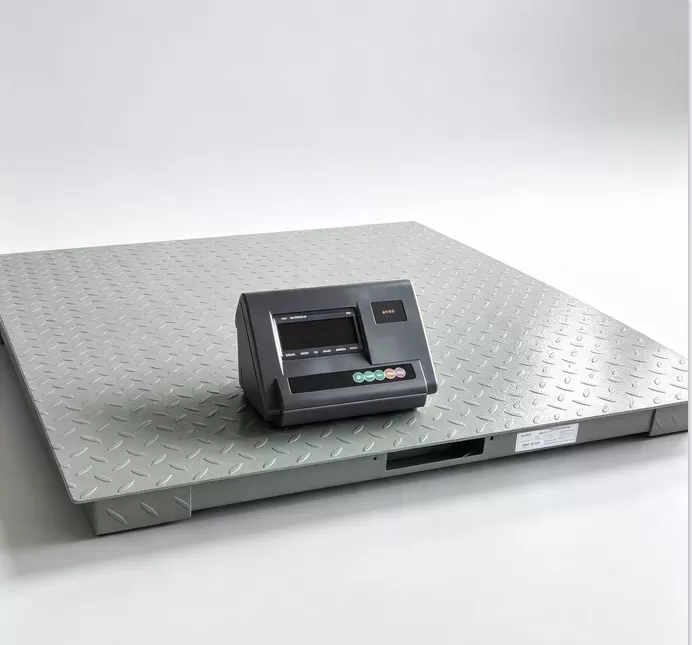
KDW Weighing Indicator Calibration Operation
Power on the indicator. While the device is running self‑check, long‑press the ON (ZERO/CLR) key to enter calibration settings.
- Use left / right keys to select and edit digit position
- Use up key to modify current value
- Press confirm key to save current setting and go to next step
- Press CLR key to return previous step or exit to weighing status
| Step | Description of calibration steps | instruction |
|---|---|---|
| 1 | Display of AD value constantly | Show raw unfiltered sensor AD value continuously. |
| 2 | Edit local GEO value x.xxxxx | Default G value: 9.79429 (China). Adjust according to local geographic gravity. Valid input range: 9.77039 ~9.83239. Out‑of‑range value blocks further steps. |
| 3 | Password verification P xxxx | Input correct password to proceed calibration. Password set in menu F10. Default password: 0000. |
| 4 | Calibration specification code: A B C D E F | A: Metric unit1=kg, 2=g, 3=t, 0=Not setB: British unit0=Not set,1=lb,2=ozC: Other special units0=Not setD: PCS counting unit0=Disable PCS,1=Enable PCS counting modeE: Range mode0=single range,1=dual rangeF: Calibration reference unit0=kg for calibration,1=lb for calibrationDefault code: 100000 (default unit kg). |
| 5 | Decimal digit setting | Setting range: d0 ~ d0.00000. Default: d0.00 |
| 6 | Division setting div xx |
Available:1, 2, 5, 10, 20,50. For dual‑range mode, graduation will auto‑switch for second measuring range. |
| 7 | Range setting xxx.xxx | Value decimal places follow the decimal digit setting above. |
| 8 | Zero point collection ZERO | Make sure scale platform is completely empty. Press confirm key to capture zero point. System reports error if weight reading is unstable. |
| 9 | Load weight collectionPrompt: “-LOAD‑” | Place certified standard test weight on platform. Input the actual weight value. Press confirm key. Error triggers if reading unstable. |
| 10 | “–OK–” prompt for 1 second | Calibration finished, auto return to normal weighing mode. |
9. Quick Calibration
Under normal weighing status, press PRINT + COUNT keys simultaneously to enter quick‑calibration menu.
-CALL‑: Collect zero point + loaded weight AD value (full quick calibration)-ZERO‑: Only perform zero‑point acquisition-SPAN‑: Only perform span / load‑point acquisition
10. Error Hints during Calibration & Operation
表格
| No. | Error code | Explanation |
|---|---|---|
| 1 | NO CAL | Scale not calibrated |
| 2 | ZERO E | Zero‑point calibration failure |
| 3 | ^^^^^^ | Overload, weight exceeds full‑scale +9d |
| 4 | uuuuuu | Under‑load error |
| 5 | Too LW | Applied test weight is too small for span calibration |
| 6 | —— | Weighing signal unstable, cannot finish calibration |
| 7 | -Full- | Accumulated records over 99 entries or value overflow |
| 8 | -Err- | Invalid key / illegal operation |
| 9 | bat low | Low battery voltage, need charging |
Key Notes for Calibration
- Install scale on solid flat ground. Adjust adjustable feet and spirit bubble to keep platform horizontal.
- Use independent power supply to avoid electromagnetic interference.
- Keep platform empty when power‑on self‑test.
- Warm‑up indicator for 3‑5 minutes before calibration.
- Avoid strong airflow and dramatic temperature fluctuation.
- Place test weight at platform centre during span calibration; never exceed scale capacity.